
Admit it.
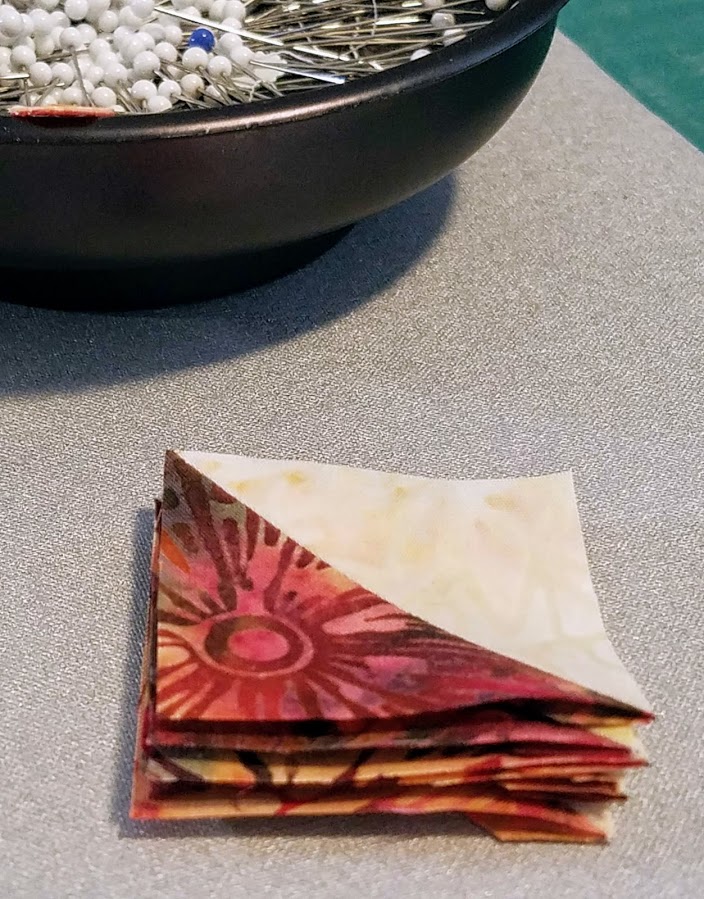
You have a pile of small triangles stacked somewhere in your sewing space that were the result of a clipped corner project. There is something about those little triangles that keeps you from tossing them in the trash. They are already paired together. You have an entire stack of them....
they could BE something.
Today is their day!

Let's turn those clipped corners
into
THIS!


14" Carpenter's Star pillow
The half square triangle are going to be made from those corner clips that were considered trash.

Sew them together and press the seam open.
Now square them up to measure 1 1/2"
to make a finished block that will measure 8".
to make a finished block that will measure 8".
Make 32 of these.
Arrange the solid squares with the half square triangles to form the Carpenter's Star pattern.
You can work from this diagram or email me at Karen@thequiltcompany.com and put
CStar in the subject line and I will email you this as a .pdf that you can print.

I placed my pieces on a 12 1/2" square ruler so that I could keep them in order as
I moved from my sewing machine to my ironing board.
(My iron is across the room so that I get SOME exercise!)


I chose to use the "web" method to keep this block in order as I assembled it.
I'm not normally a fan of that method, but for this 8" finished block it worked well.
To web the block, chain stitch the squares together in four vertical columns.
The web is created because you don't snip the threads between the pieces before adding the next column of squares. I chose to make 4 columns of 2 squares. Then stitch those together in pairs. Then stitch the two halves together to complete the vertical web.
See how all of the units stay connected with a few stitches
in-between each pair.


Then sew the pairs together, then the halves,
with out snipping the joining threads.

Press all of the seams open.
These squares finish at 1".
Open seams will distribute the bulk and allow the block to lay flat.

Repeat the web process to stitch the horizontal rows without snipping the original web.
Press the seams open.
The back of your block should look something like this.

To finish the block into a 14" pillow you will need:
1/2 yard of fabric for the outer border and backing.
1/8 yard or scraps for the inner border.
15" square of batting
14" pillow form
18" zipper (optional)
From the 1/2 yard of backing and border fabric cut 1 strip 3" by the width of the fabric.
From the remaining section of backing fabric cut 2 strips 3" by the narrow width of the fabric.
(The short way).
From the inner border fabric cut 2 strips 8 1/2" by 1 1/2" and
two strips 10 1/2" by 1 1/2"
Add the borders to the completed block.
(You know how to do this.)
Repeat the process
using the 3" strips cut from the backing fabric.
Now layer the pillow top with the batting and perform the ever popular,
"quilt as desired" portion of the instructions.
I outlined the inner and outer star about 1/8" from the edge.
I added a straight line in the inner border and a few more in the outer border using matching thread.
Rather than a fold over, sham type backing, I prefer a zipper in my pillows for several reasons.

1. Zippers stay closed.
2. You never have that gap that happens when the sham pulls apart.
I always think that looks like your slip is showing.
3. Zippers allow you to over stuff your pillow so that it doesn't look sad.
4. Pillows flatten with use, so if they don't start out full, things will only get worse.
(Here's a tip: Cut your pillow top the SIZE of your pillowform.
Once the seam allowance is taken up, it's a bit smaller and you can stuff the pillow form inside.
That will help fill the corners and make the pillow look better.)
However you have decided to make your backing, place the top and
backing right sides together and trim to size.
Stitch completely around the outside edge, backstitching at the corners and stress points.
Clip the corners to remove the bulk.
Turn the pillow right side out through the opening in the backing.
Insert the pillow form and ENJOY!
Now you have a Trash to Treasure!

To receive the pattern page, email Karen@thequiltcompany.com
ReplyDeleteI can't even imagine how many pillow tops that I could make from the clipped corners that I have saved over the years!
ReplyDeleteI have left over strip sets... can I use those in the corners as 4 patches?
ReplyDelete